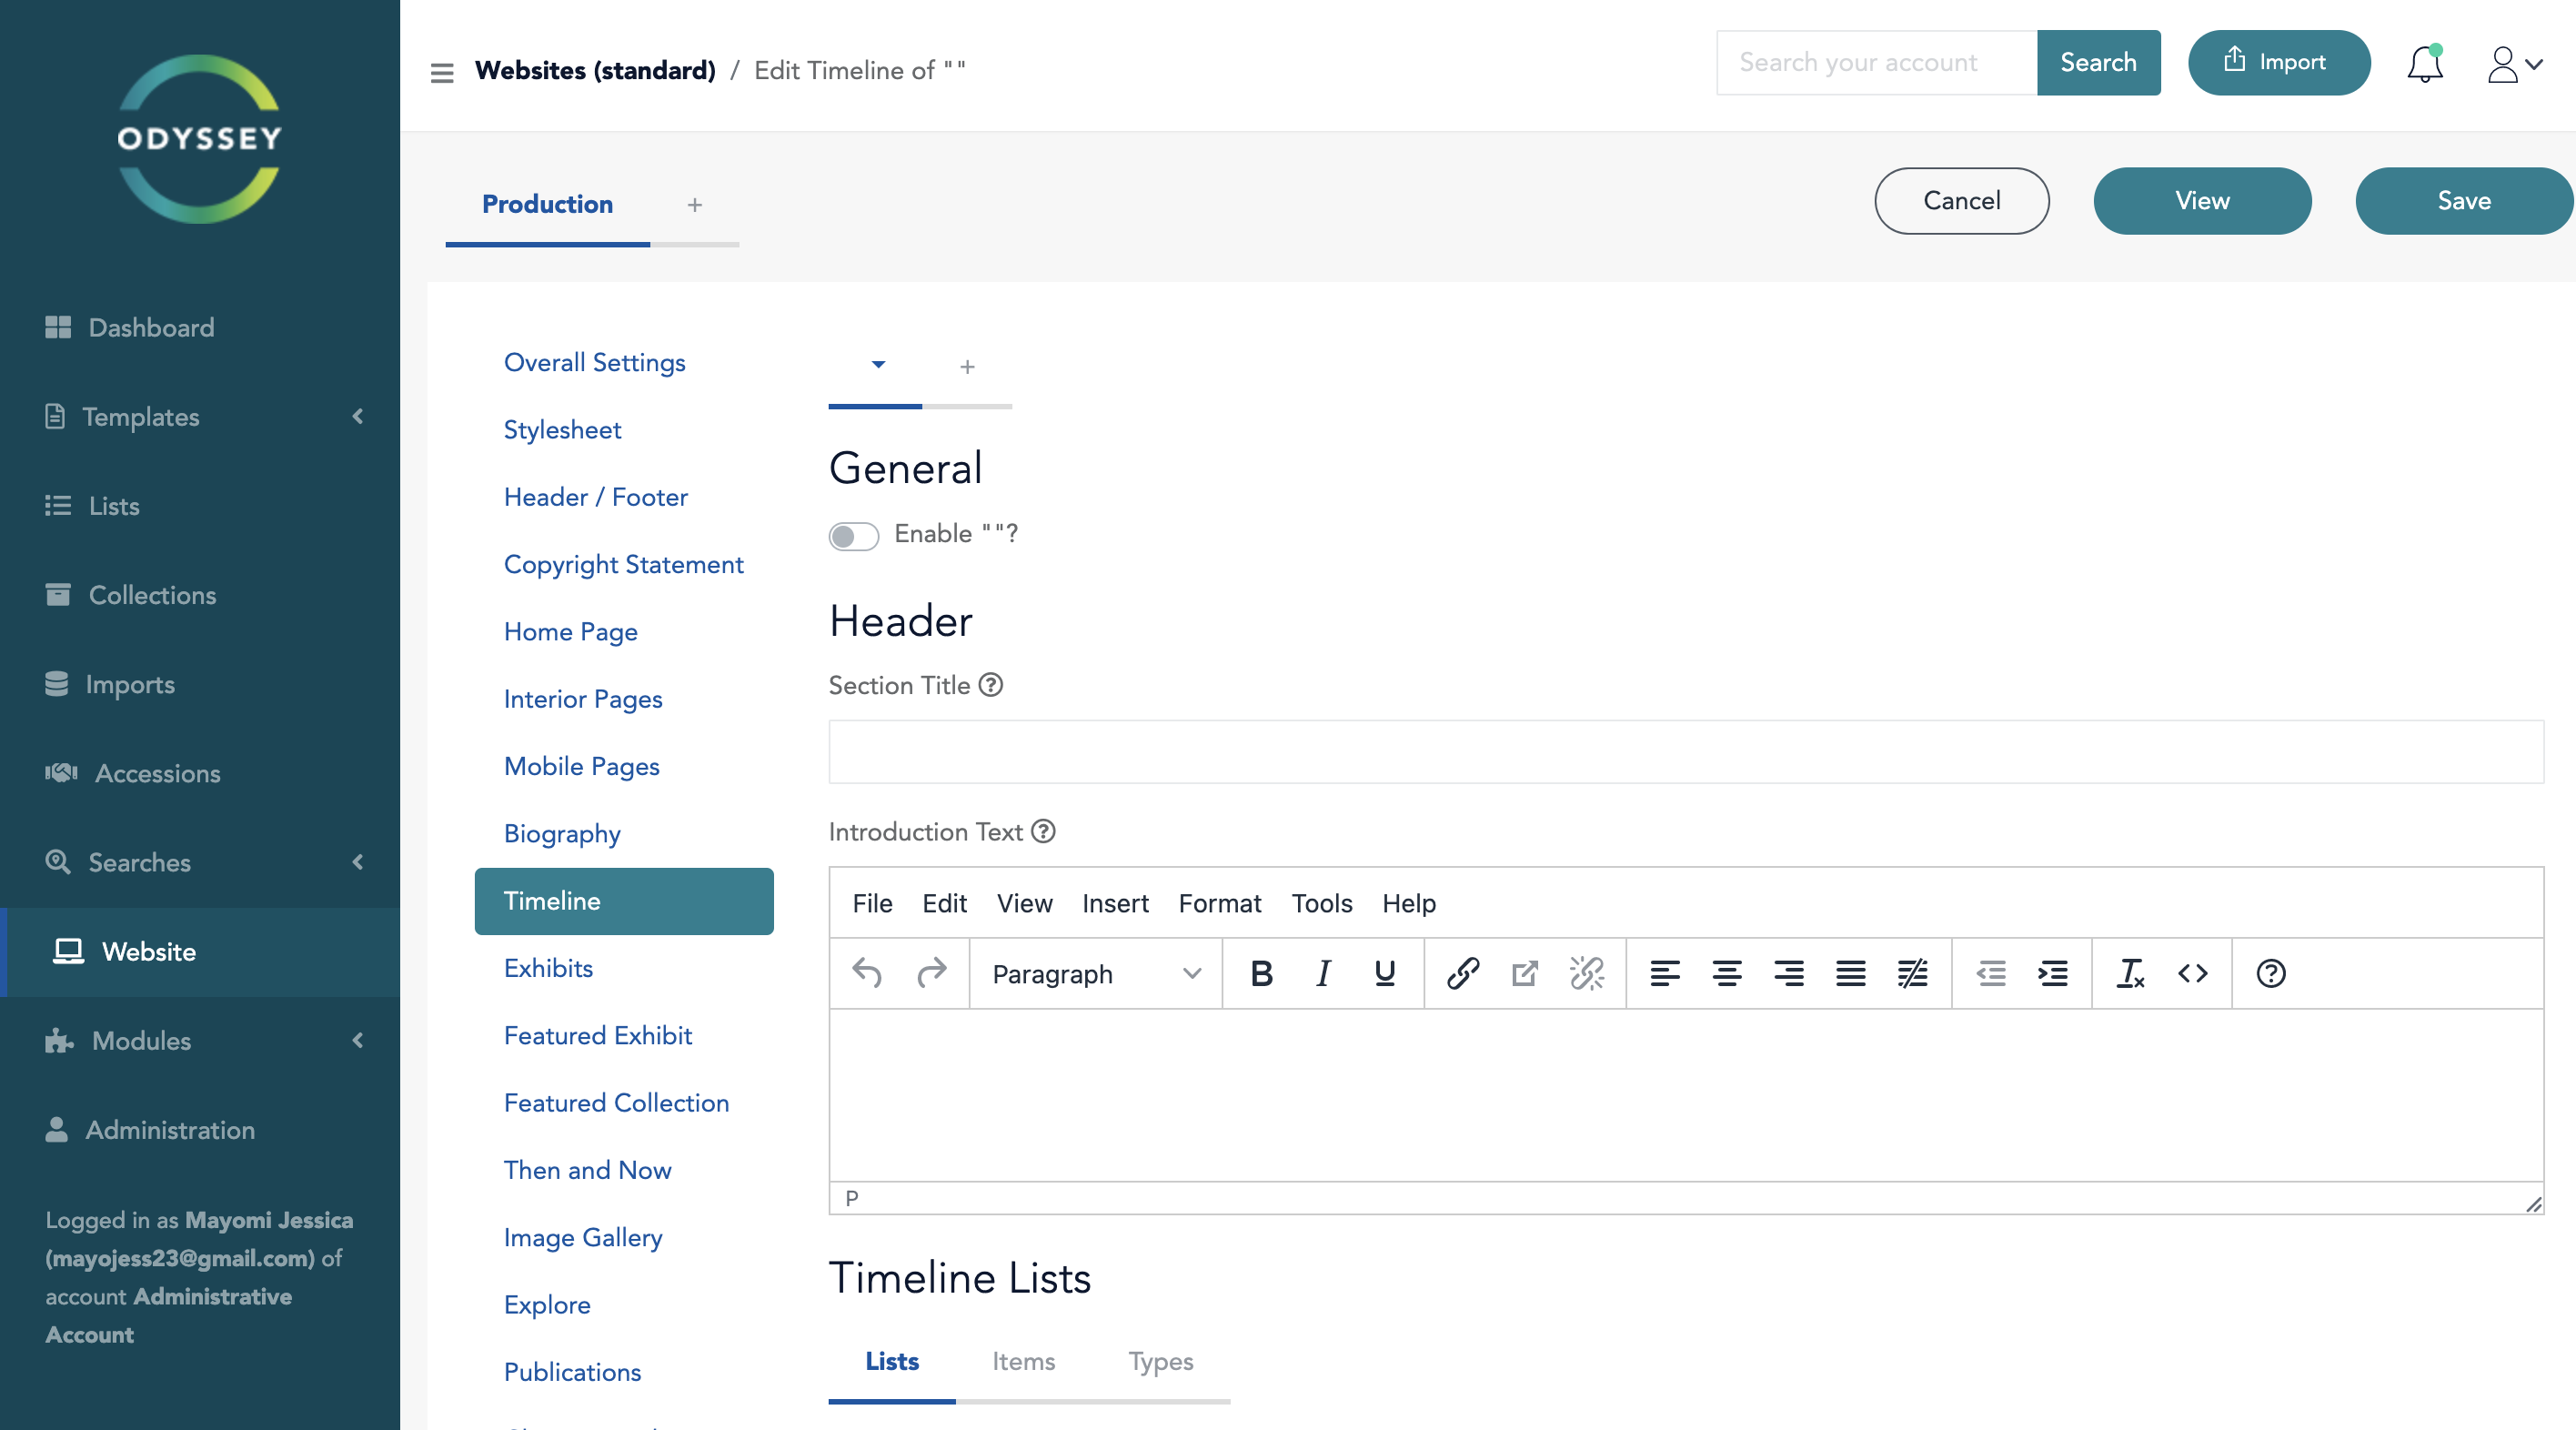
Before configuring the Timeline section of your website (see below), you should have already created a Timeline List and a Timeline Type List in Odyssey's Lists section. To enable your website's Timeline page, move the toggle button from the inactive (gray) to the active (blue) position.

Timeline settings for a standard website
The available choices for Title, Description, Date, See Also, and Timeline Type change when a Timeline List is selected to reflect the available, suitable metadata fields in the selected list. Previous picks, if any, have been eliminated.
 Timeline List Tab
An overlay for adding a new timeline item shows when you click the "Add button' on the Item tab. The metadata that is displayed is the same as the metadata controls that would appear if you added the item in the list items view. Every control saves its content as intended. The item shows up in the list of timeline items after saving. The initial metadata entered can be seen by clicking the edit icon. After selecting edit, any modifications to the metadata are saved.
 Timeline Item Tab
 Add Item Overlay
The new timeline type is instantly added to the list of types by entering text in the "new type" box and clicking "+". When choosing the type of timeline item in the "Items" tab, the type is immediately usable.
 Timeline Type Tab
Was this article helpful?
That’s Great!
Thank you for your feedback
Sorry! We couldn't be helpful
Thank you for your feedback
Feedback sent
We appreciate your effort and will try to fix the article