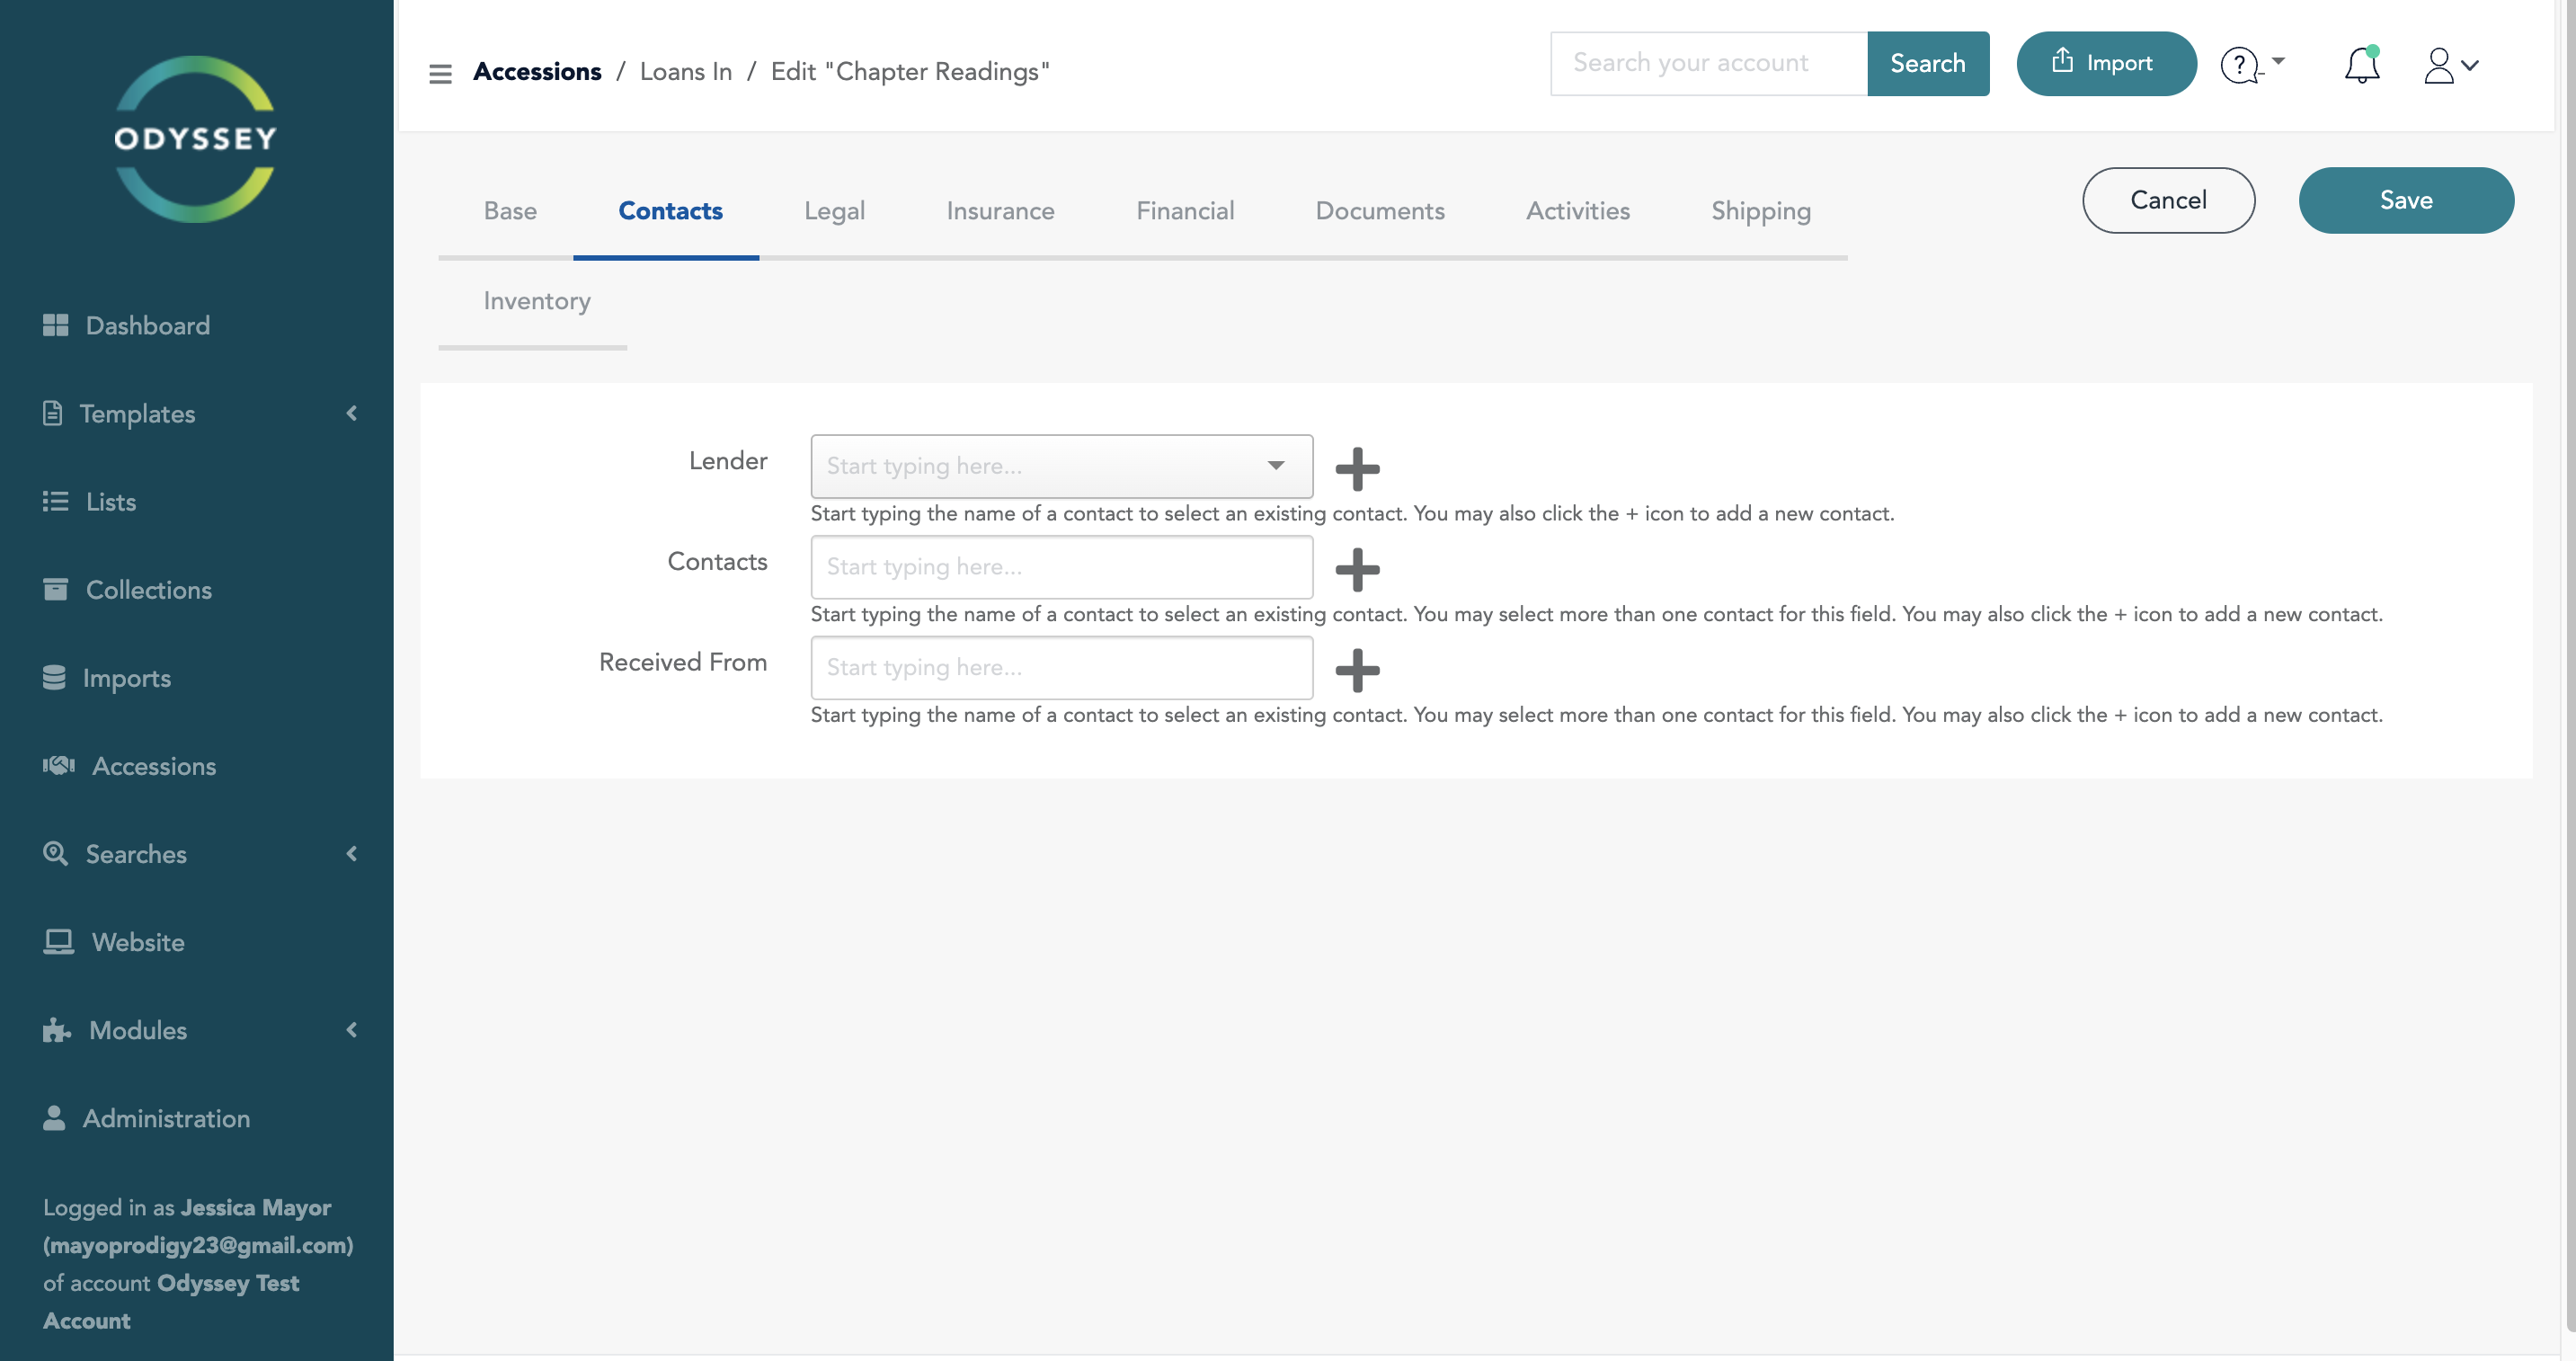
The input controls appear, pre-populated with default settings, as soon as the loan editing page loads. More specifically, the system smartly auto-completes with contacts that are already in your address book when you open the "Lender" tab and start typing. Interestingly, you can choose to have one or zero contacts for the Lender position.

Adding New Contact:
Click the "+" control to the right of any contact box to add a new contact. This initiates an overlay that makes it easier to add a new contact with ease. For a thorough analysis of this process, Crucially, keep in mind that while adding a new contact adds it to the appropriate contact field on the page at hand, the values are not saved just yet.
Managing Multiple Contacts:
The "Contacts" and "Receive From" controls let you pick more than one contact, just like the Lender tab does. Clicking on the appropriate tab and following the same steps as with the Lender tab are the steps involved in the procedure.
Additionally:
Another choice is available if the lender is in your Contacts file. You can find the contact and have their details automatically filled up by clicking the "Select Lender from Contacts File" option. This creates a link between your Contact and Incoming Loan records in addition to streamlining data entry. This link is quite helpful because it lets you see an exhaustive list of all the loans you have borrowed from a specific contact at a later date. This improves the general organization and efficiency of your loan management procedure.
Was this article helpful?
That’s Great!
Thank you for your feedback
Sorry! We couldn't be helpful
Thank you for your feedback
Feedback sent
We appreciate your effort and will try to fix the article